Back in summer, when I was wondering on internet for my next project,
I struck to a project - RetroWatch by GodsTale.
https://www.instructables.com/id/Make-your-own-smart-watch/step2/Preparing-for-RetroWatch/
It was a smartwatch made on Arduino Pro mini and OLED display. It
can show you time and notifications of your android smartphone (for jellybean
4.3+) I liked the idea and based on the hype of smartwatch I decided to
build it.
I wanted to make it better with color display and with much more
advanced features.
COMPONENTS
Microcontroller
Arduino pro mini has only a memory of 32kb and 8 kHz processor which
restricts its functionality by large amount especially in case of graphic
LCD. So I searched for alternatives which has more memory, processing speed
and smaller in size. Finally my search ended with Teensy 3.1. It is an
ARM based microcontroller board having Cortex- M4 at its heart. Full specification
can be find here-
https://www.pjrc.com/teensy/teensy31.html#specs
It uses the Arduino environment by installing on Arduino means you can
program teensy on Arduino IDE by selecting Teensy from boards options.
Also it installs various libraries that can be used with teensy.
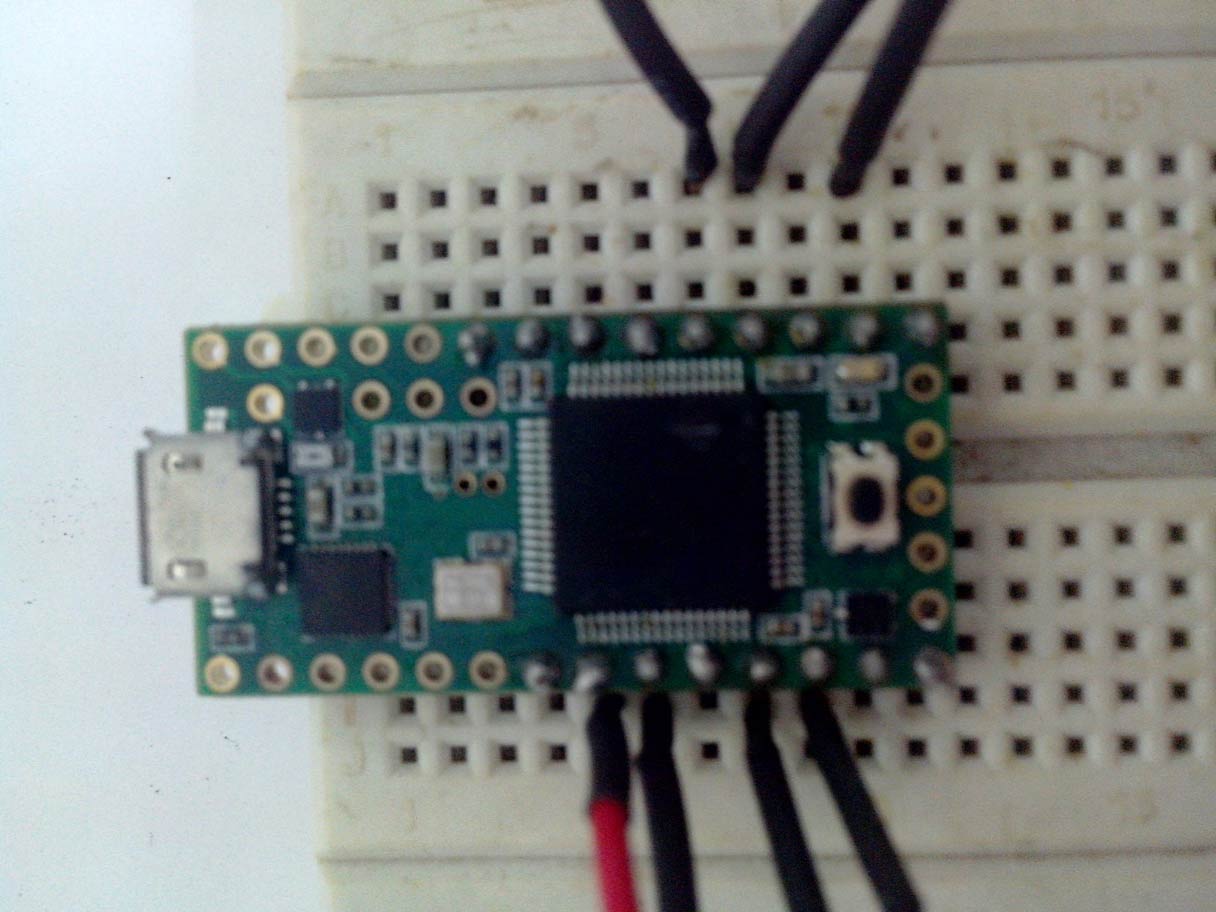 Teensy Module
Display
It was a difficult choice. Not much color displays are available with touchscreen
and have good resolutions. Apart from Chinese LCD’s, their availability
is scarce (In my region).For my first project, I didn’t want to go to Chinese
displays which can broke down any minute. Finally I decided to go for Adafruit
2.8" Color TFT Touchscreen Breakout v2. It was a big one for my project,
but I didn’t have much choices then.
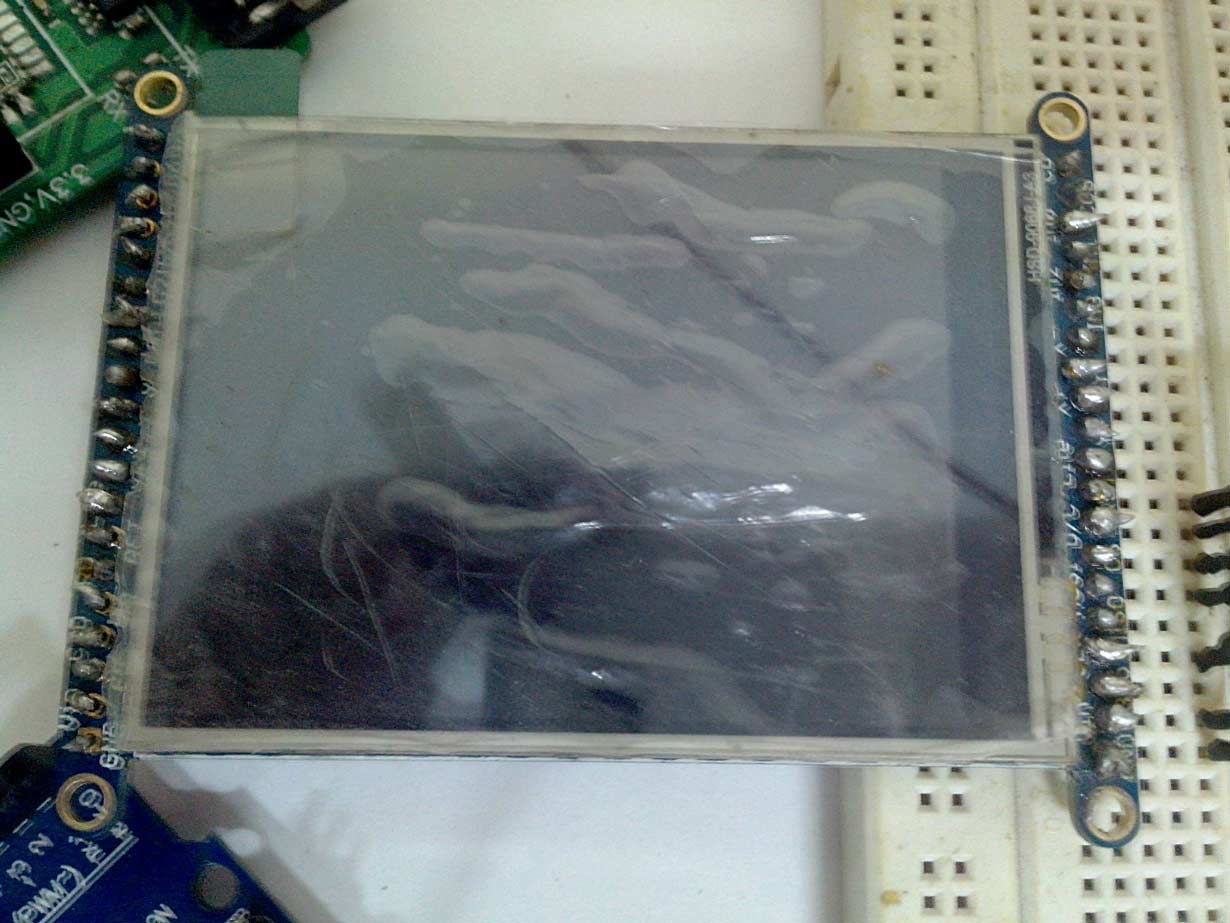 Touchscreen
Bluetooth
I had HC-05 Bluetooth module and I decided to go with it.
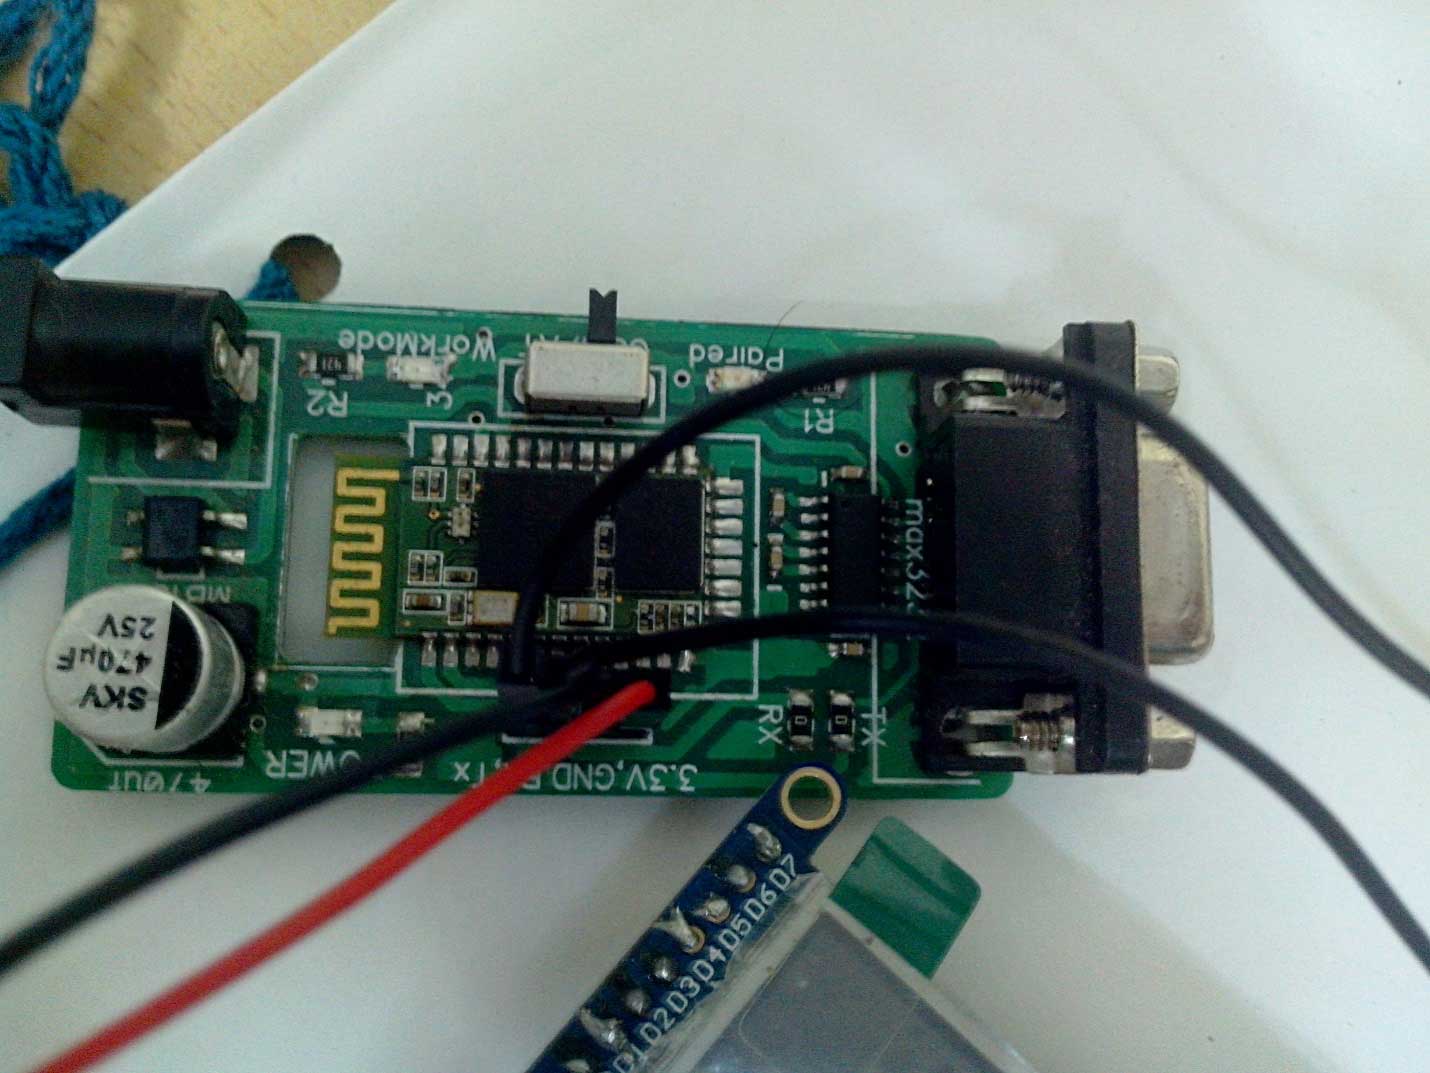 Bluetooth Module
Due to scarce availability, it took almost a month for my package to arrive.
Hence, I decided to postpone my project. Later, I got some free time and
started working on it.
Wiring
In order to use sdcard on display, I wired the display in SPI model. Since,
I hadn’t any experience with Graphic LCD and teensy, I decided to
go with Arduino first. I followed Adafruit manual and successfully tested
all their demo programs.
Now, doing all these with was a real trick since Adafruit doesn’t have
any official library for teensy. I search internet for various options
and read about teensy and LCD on pjrc forums. Some of them were very beneficial.
I tried various libraries and finally got one working for teensy. But during
this, I came to know about another library – UTFT developed by Henning
karlsen.
http://henningkarlsen.com/electronics/library.php?id=52
It is a very good library with more functions then Adafruit
library. Additionally, it supports the teensy. So, I decided to go with
UTFT. Again, I tested all their demo programs with Arduino Uno.
However, they can’t be implemented fully due to massive size of library
(25kb approx.).
When it came to teensy, it took me a long time to figure out. I consulted various
pin diagrams and forums but got no success. Finally I figured out that
teensy package for Arduino comes out with an older version of UTFT library
which doesn’t support my display. So, first remove the UTFT library in
Arduino root folder then put the newer version in libraries.
Then it works like charm.
For a startup, I decided to implement just the clock code comes
in handy. I owe him for this. I did some part. Here, retrowatch improvements
and first version of my watch was ready.
For app part, my friend Ujjwal (he recently created a game for android
platform. check it out-
https://play.google.com/store/apps/details?id=com.ujjwal.rise&hl=en ) made a Bluetooth chat app for me and slightly modified it so
that I can receive only the date and time.
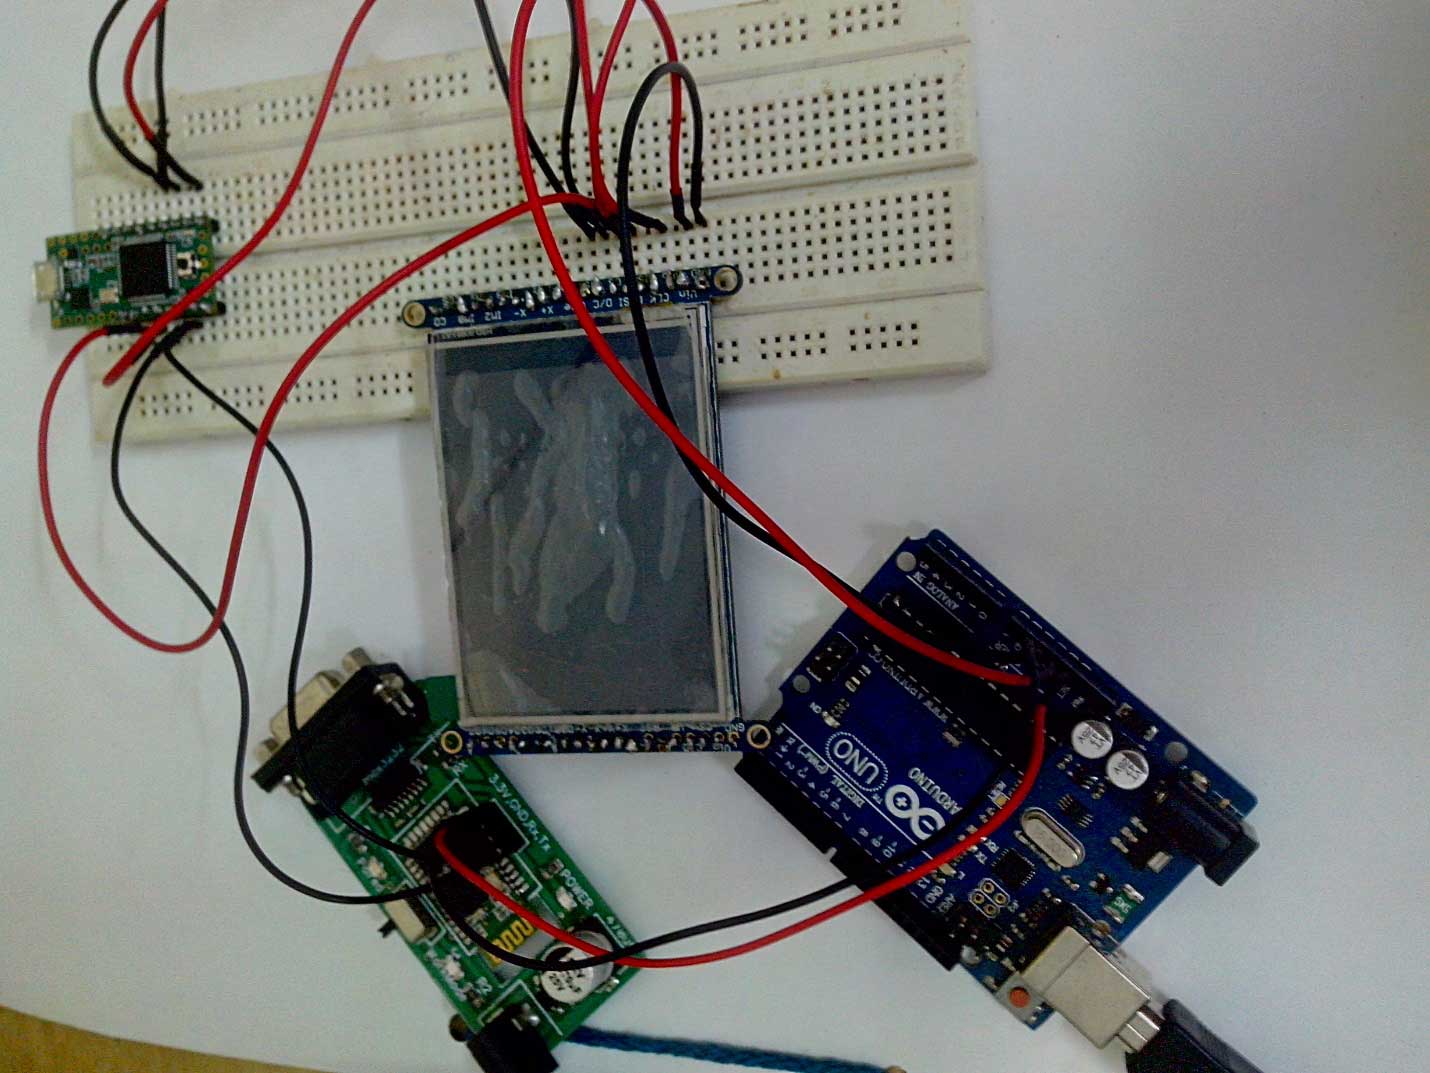 All the pieces together